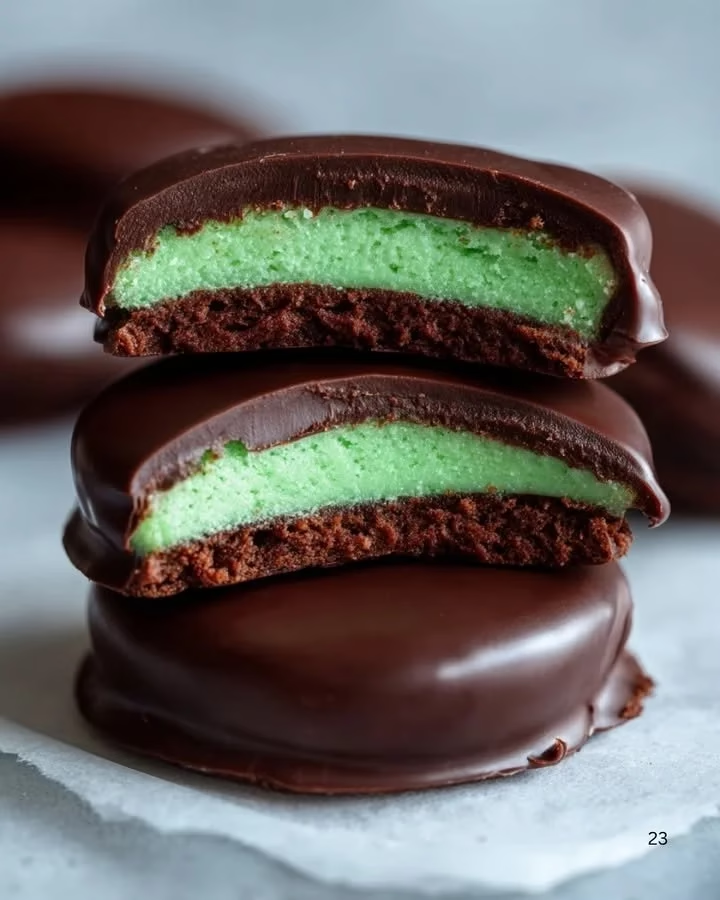
# Homemade Peppermint Patties: A Sweet Escape for Busy Days

If you're looking for a quick and delightful treat, **Homemade Peppermint Patties** are the perfect solution! These bite-sized wonders pack a minty punch that will whisk you away to a world of flavor—one where the only thing on your to-do list is savoring every delicious moment. Trust me; your sweet tooth will thank you!

## Why You'll Love This Homemade Peppermint Patties Recipe

Picture this: you're sprinting around the house, hair in a messy bun, juggling work, kids, and that endless pile of laundry. Sounds familiar, right? Now imagine rewarding yourself (or maybe just making your kids extra happy) with some irresistibly chewy, minty, chocolatey treats! The best part? It's so simple to whip up these **Homemade Peppermint Patties** that you could practically do it in your sleep—just don’t actually do that!

### Ingredients You’ll Need

Gather these ingredients, and you’ll be well on your way to elevating your afternoon snack game:

- 2 cups powdered sugar
- 2 tablespoons unsweetened cocoa powder
- 1/4 cup corn syrup
- 1/4 teaspoon peppermint extract (or more if you're feeling bold!)
- 1 tablespoon softened butter
- 1 cup semi-sweet chocolate chips
- 1 tablespoon vegetable shortening

### Steps to Minty Bliss

1. **Make the Filling**: In a bowl, combine the powdered sugar and cocoa powder. Gradually add in the corn syrup, peppermint extract, and softened butter. Mix until it forms a dough-like consistency. Don’t be scared to get your hands in there! A little mess never hurt anyone.

2. **Shape the Patties**: On a clean surface, roll out the dough to about 1/4 inch thick. Use a cookie cutter (or just a glass, in a pinch) to cut out circles of your desired size. Try not to eat all the dough before shaping! You deserve more than just raw concoction.

3. **Chill for Firmness**: Place the patties on a wax-paper-lined baking sheet and pop them in the fridge for about 30 minutes. This step is crucial as it helps them hold their shape while dipped in chocolate.

4. **Melt the Chocolate**: While the patties are chilling, melt the chocolate chips and vegetable shortening together in a microwave-safe bowl. Heat in 30-second intervals, stirring until smooth—don't burn your chocolate!

5. **Coat and Set**: Once the patties are firm, dip each one into the melted chocolate, ensuring they're evenly coated. Return to the baking sheet, and then chill them again to allow the chocolate to set completely. Patience is vital!

### Cooking Tips…and a Dash of Humorous Wisdom

- **Don’t Rush It**: As tempting as it might be to speed through these steps, give the chilling times their due. This is where the magic happens!
- **Plenty of Peppermint**: If you love the bold taste of mint, feel free to increase that peppermint extract a little. Just remember, you want to avoid a flavor explosion that might make everyone’s eyes water!
- **The Art of Reusability**: After cutting out your patties, if you have leftover dough, just re-roll it and cut out more! No waste here—just more reason to eat chocolate!

### A Sweet Memory

I remember the first time I made **Homemade Peppermint Patties**. It was a dreary winter afternoon, and my sister Patricia and I decided to experiment in the kitchen. After a few giggles, a little flour flyaway, and much peppermint sampling, we ended up with a batch of flavor that had us grinning ear to ear. Now, they’re a staple at every family gathering!

## FAQs About Homemade Peppermint Patties

- **Can I substitute the corn syrup?**
  Absolutely! You can use honey or agave nectar as alternatives. Just remember, it might slightly change the taste.

- **How long will these last?**
  Stored in an airtight container, they'll stay fresh for about two weeks—if they last that long!

- **Can I freeze them?**
  You bet! Just make sure they're well-wrapped. They'll be ready for whenever you need a quick chocolate fix.

As you find time to create these **Homemade Peppermint Patties**, remember that cooking should be about joy, not pressure. So pour yourself a cup of coffee or tea (wine, if you're feeling festive!), dive into this relaxing kitchen project and watch how quickly these delightful bites disappear!

The sweet taste of **Homemade Peppermint Patties** isn’t just about the flavors—it's about making memories and treating yourself when life gets busy. Give this recipe a whirl, and don’t forget to share it with friends, family, or maybe keep it all for yourself!

---

For more scrumptious recipes that bring a smile to your day, check out my other posts [here](https://al3ab.tech), where joy really does come from cooking!
Meta Description: Homemade Peppermint Patties are the perfect recipe for a quick, easy, and delicious treat. Try this minty delight today!
Homemade Peppermint Patties
These bite-sized peppermint patties are simple to make and deliver a delightful minty chocolate experience perfect for any occasion.
Ingredients
Method
Preparation
- In a bowl, combine the powdered sugar and cocoa powder. Gradually add in the corn syrup, peppermint extract, and softened butter. Mix until it forms a dough-like consistency.
- On a clean surface, roll out the dough to about 1/4 inch thick. Use a cookie cutter or a glass to cut out circles of your desired size.
- Place the patties on a wax-paper-lined baking sheet and refrigerate for about 30 minutes.
Coating
- Melt the chocolate chips and vegetable shortening together in a microwave-safe bowl in 30-second intervals, stirring until smooth.
- Dip each patty into the melted chocolate until evenly coated, then return them to the baking sheet.
- Chill again to allow the chocolate to set completely.
Notes
Store in an airtight container for up to two weeks. Can be frozen if well-wrapped. Be patient during chilling times for the best results.