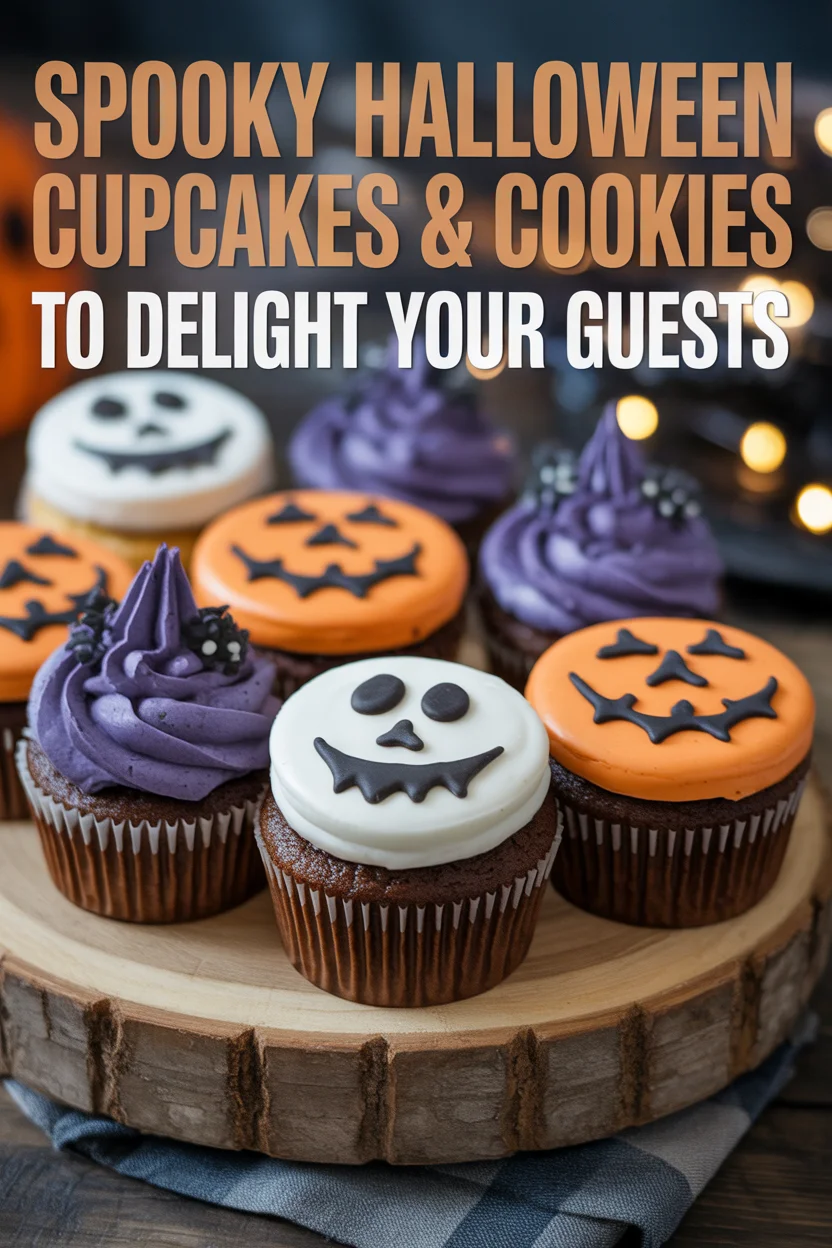
Halloween Cupcakes & Cookies always seem like a good idea until you’re nine hours deep on Pinterest and everything looks like it should be in a bakery window, not your cluttered kitchen. Yeah, I get it. The whole “spooky but cute but EASY” thing isn’t as effortless as it sounds. Especially with a herd of kids at your feet or, heck, even just the pressure of impressing friends who still remember the disastrous cake pops of 2015. If you’ve ever tried to pipe a ghost and ended up with something that… wasn’t a ghost, you know what I mean. Don’t worry though. After countless sticky attempts and maybe a dozen samples later, I finally nailed down some fun stuff—like sharing some of my go-to hacks from over on my chocolate chip cookies sessions or pulling last-minute inspo from these genius no-bake coconut pecan praline cookies. Ready, let’s snack on some spooky spirit.
4 Simple Halloween Cupcakes Designs
Let’s be honest—some ideas are just not worth the hassle. The good news? You really only need a few basic decorating tricks to make knockout Halloween Cupcakes & Cookies that’ll wow your people (or at least get some Instagram love before the first bite). Honestly, the classic designs hit hardest. Here are my can’t-fail faves—straight from years of chaotic, sugar-dusted trial and error:
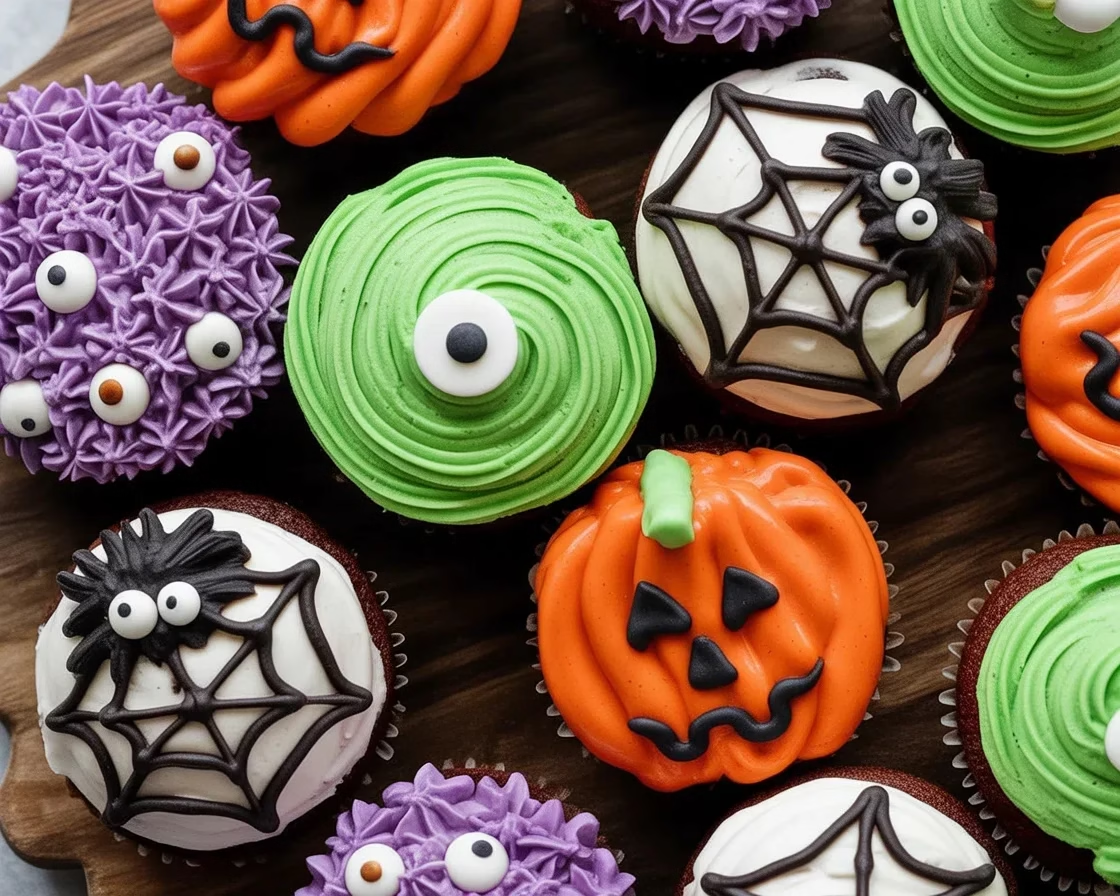
- Mummy Cupcakes: Swirl white frosting with a flat piping tip and plop on candy eyes. Done. These look way more complicated than they are.
- Spooky Spider: Use chocolate cupcakes, black licorice for legs, and blob a mound of frosting in the center. Candy eyes really sell the look (even if your spiders end up a little… cross-eyed).
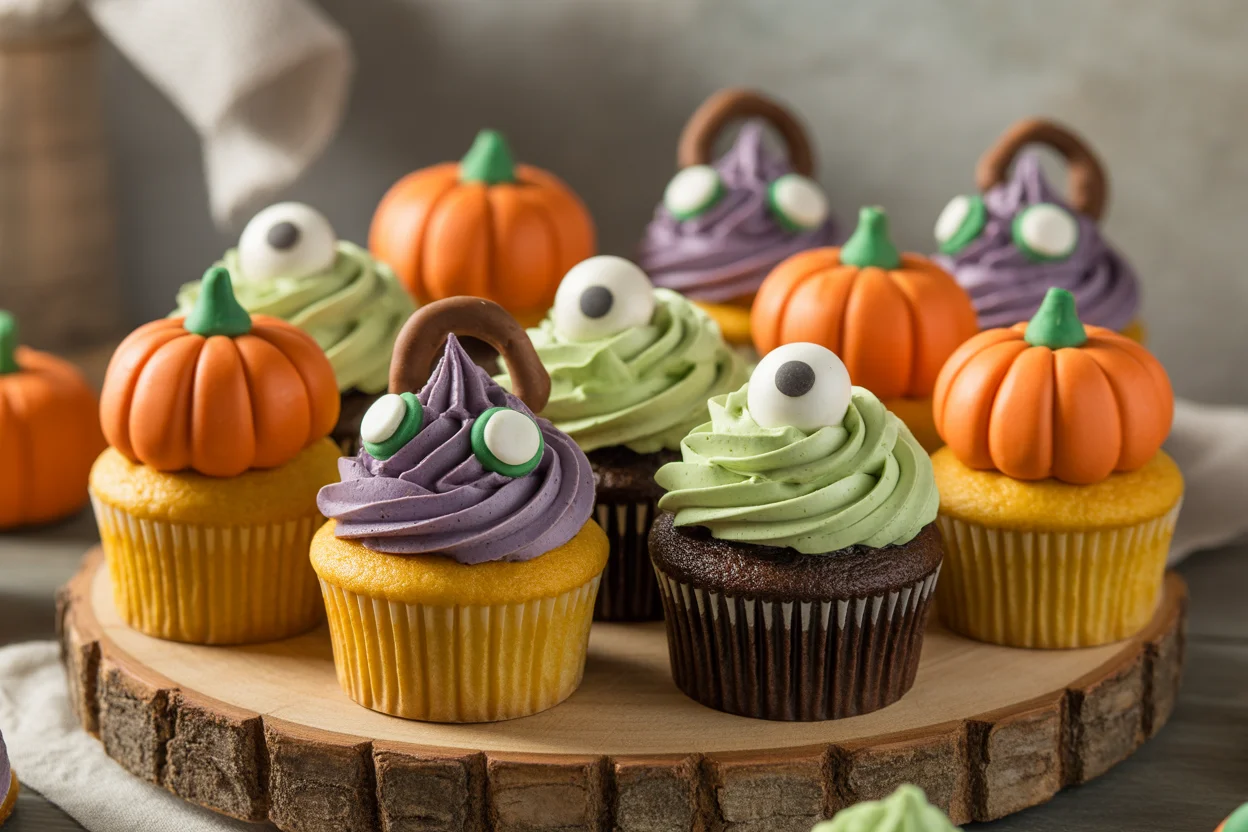
- Pumpkin Faces: Slap orange-tinted frosting on top, use black icing gel for creepy faces, and a green M&M for a “stem.” Even kids can help out with this one.
- Graveyard Dirt: Crushed Oreos for “dirt,” then tuck in a mini cookie headstone. Pipe “RIP” if you’re feeling ambitious.
Look, perfection isn’t the goal here. If you end up with a lopsided mummy, lean in. Own it. That’s half the charm.
“I used your graveyard dirt design at my work potluck last year. Not a single crumb left. And people thought I spent hours—ha! Your easy tips seriously saved my night.” – Jamie, actual cupcake enthusiast
Start With Your Favorite Cupcakes
I know, this should be obvious, but sometimes we get the cart before the horse. You don’t need a five-star patisserie recipe. Really, just use your tried-and-true. Or heck, boxed mix if you’re in a hurry. My kids barely notice the difference and honestly, with all these Halloween Cupcakes & Cookies toppings, no one’s checking the crumb.
If you’re in the mood for something fruity, let me nudge you toward cupcakes paradisiaques aux framboises et au citron. Or, if you’re wild for classic combos, a batch of hersheys smores cupcakes is a banger that works year-round, not just October. The point: start with whatever cupcake (or cookie) makes you happy.
Oh, and bake a few extra. There’s always one “test” cupcake that meets an early end.
Use a Sturdy Buttercream Frosting
If there’s one thing to remember, it’s this: a too-soft frosting spells disaster. I once tried whipping up “spooktacular” ghosts using canned stuff straight from the tub. You ever seen a ghost puddle? Not cute. For Halloween Cupcakes & Cookies that actually look like you tried, use a buttercream that’s thick enough to hold its shape.
Here’s my game plan. I beat unsalted butter until it’s fluffy (think summer clouds). Then I toss in powdered sugar, a sprinkle of salt, and a dash of vanilla. Add just a touch of cream or milk, slowly, til it feels right—spreadable, but sturdy. If you poke it and it bounces back, you’re good. Buttercream also takes color like a dream, which matters when you’re aiming for bright slime green or jet black.
Trust me, even when my designs go sideways, a bold frosting color covers a multitude of sins.
Monster Cupcakes
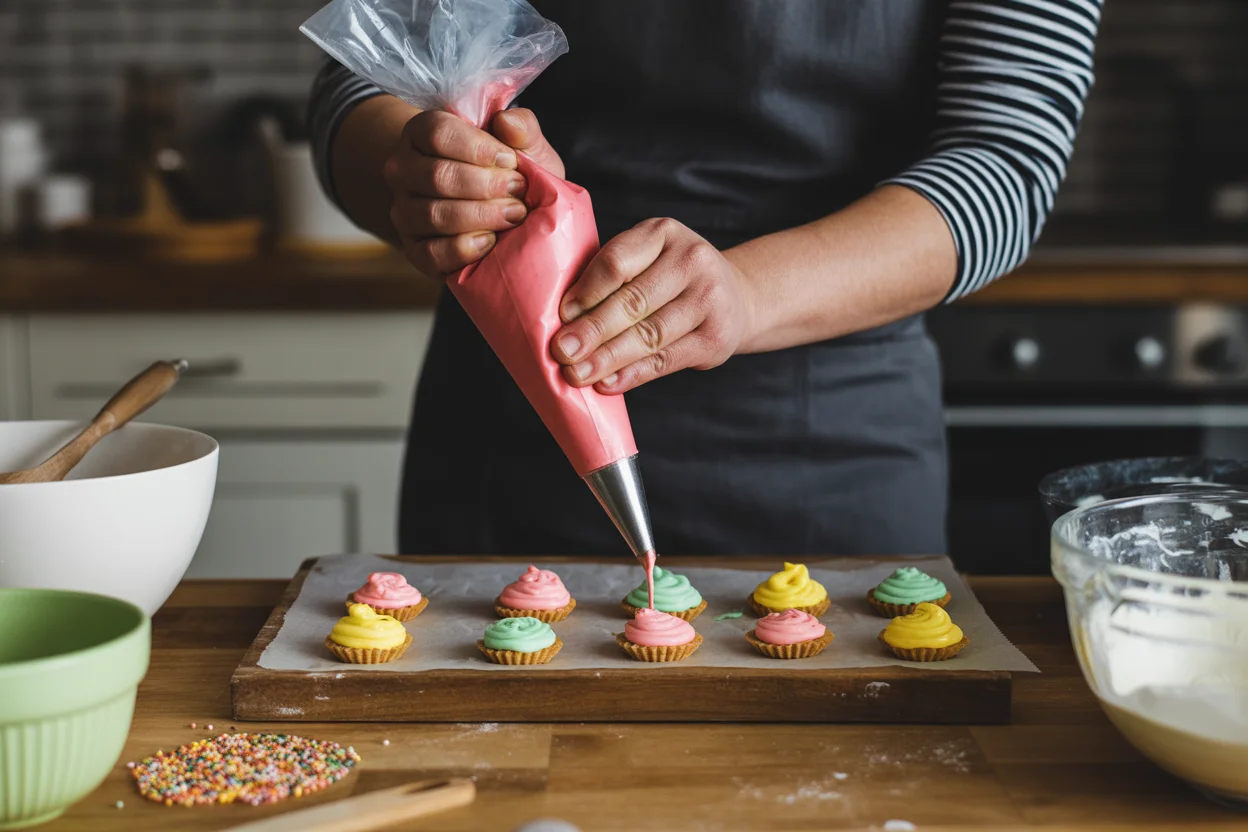
These are… electric. Like, “kids shriek when they see them” electric—not even kidding. Monster cupcakes are pure fun, lots of messy squiggles, wild eyes, and no rules. Grab a piping bag, toss some googly eyes on top, and whatever happens, happens. Even the “mistakes” look intentional.
I’ll mix purples, greens, electric blues. Sometimes I swirl them for a tie-dye effect. My tip: press eyes in while the frosting is still soft so they stick. And if you want to amp it up, stick gummy worms coming out from under the “mouth.” Can’t lose.
There’s just something about letting everyone make their own monster that cranks up the Halloween mood. If you end up with a cupcake army on your counter, well, welcome to the club.
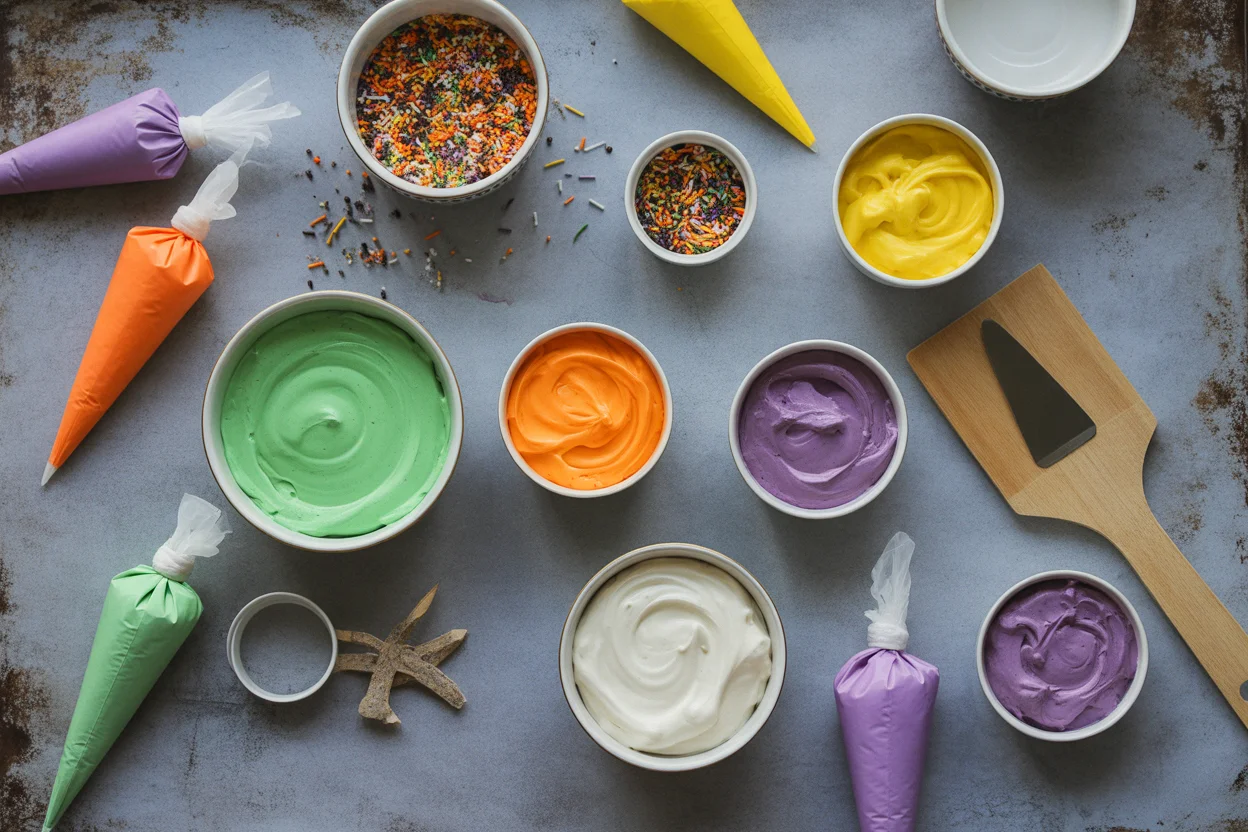
Frosting Color Success Tips
So here’s the truth: it’s super easy to end up with pastel pumpkin instead of orange, or a weird gray instead of black. A few things I wish I knew sooner about coloring frosting for Halloween Cupcakes & Cookies:
Start with WHITE frosting. I know, seems basic, but off-white butter doesn’t make bold colors. Use gel food coloring instead of liquid—it won’t water down your frosting. Build the color in tiny increments. Trying to fix it all at once turns your bowl into a science experiment. Want black? Horrifying secret: Start with chocolate buttercream, then color it black. Saves you so much frustration.
Ended up neon? Congrats, you’re on trend.
| Halloween Treats | Key Ingredients | Fun Fact |
|---|---|---|
| Mummy Cupcakes | White frosting, candy eyes | Easy to decorate and kid-approved! |
| Spooky Spider | Chocolate cupcakes, black licorice, candy eyes | Turns regular cupcakes into something spooky! |
| Pumpkin Faces | Orange frosting, black icing gel, green M&M | Perfect for kids to help decorate! |
| Graveyard Dirt | Crushed Oreos, mini cookies | A great Halloween centerpiece! |
Common Questions
How far ahead can I decorate Halloween cupcakes?
I usually decorate the day before, but they’re still soft for 2 days if you cover them. Sprinkle toppings just before serving if you want crunch.
Can I make these gluten-free?
Absolutely! Use your favorite gluten-free cupcake base. Nearly all the decorations and frosting are naturally gluten-free (but check your labels).
What if my frosting keeps melting?
Been there. If your kitchen’s warm, keep your frosting in the fridge for 20 minutes before piping again. Or just embrace the “slimy ghost” vibe.
How do I get really black or red frosting?
Start with chocolate frosting for black, or use gel color and let it sit. Colors deepen over time.
My cupcakes look messy—help!
Messy is spooky sometimes. Add sprinkles, candy eyeballs, or a “BOO!” sign. People love homemade—it’s about fun, not perfection.
Ready to Bake Up Some Spooky Magic?
Look, making Halloween Cupcakes & Cookies doesn’t have to be scary. With a couple of easy tricks—good buttercream, bold colors, and classic designs—you’ll have treats people talk about all year. If you’re craving more inspiration, check out these Easy Halloween Cupcakes (Video) – Sally’s Baking for some super clever decorating, or give Pillsbury Ghost Sugar Cookie Cupcakes – The Squeaky Mixer a whirl for adorable ghosts. And, if you want to kick it up with something stuffed and chocolatey, peek at these Halloween Oreo Cupcakes for an extra layer of surprise. Don’t stress the mess—just channel some Halloween joy and let those cupcakes and cookies run wild.
4 Simple Halloween Cupcake Designs
Description
Make fun and spooky Halloween cupcakes with easy designs that are sure to impress your friends and family. From mummy cupcakes to graveyard dirt, these recipes are perfect for any Halloween gathering.
Ingredients
Instructions
- Preheat oven to 350°F. Prepare and bake your favorite cupcake recipe according to the package or your own instructions.
- Swirl white frosting on top of cooled cupcakes to create a mummy effect. Add candy eyes.
- Top chocolate cupcakes with a mound of frosting in the center. Attach black licorice for legs and add candy eyes.
- Spread orange frosting on the cupcakes and use black icing gel to draw faces. Place a green Mu0026amp;M on top for a stem.
- Cover cupcakes with crushed Oreos and place mini cookies on top as headstones. Pipe ‘RIP’ for added effect if desired.
Notes
- Decorate cupcakes right before serving for the best presentation.