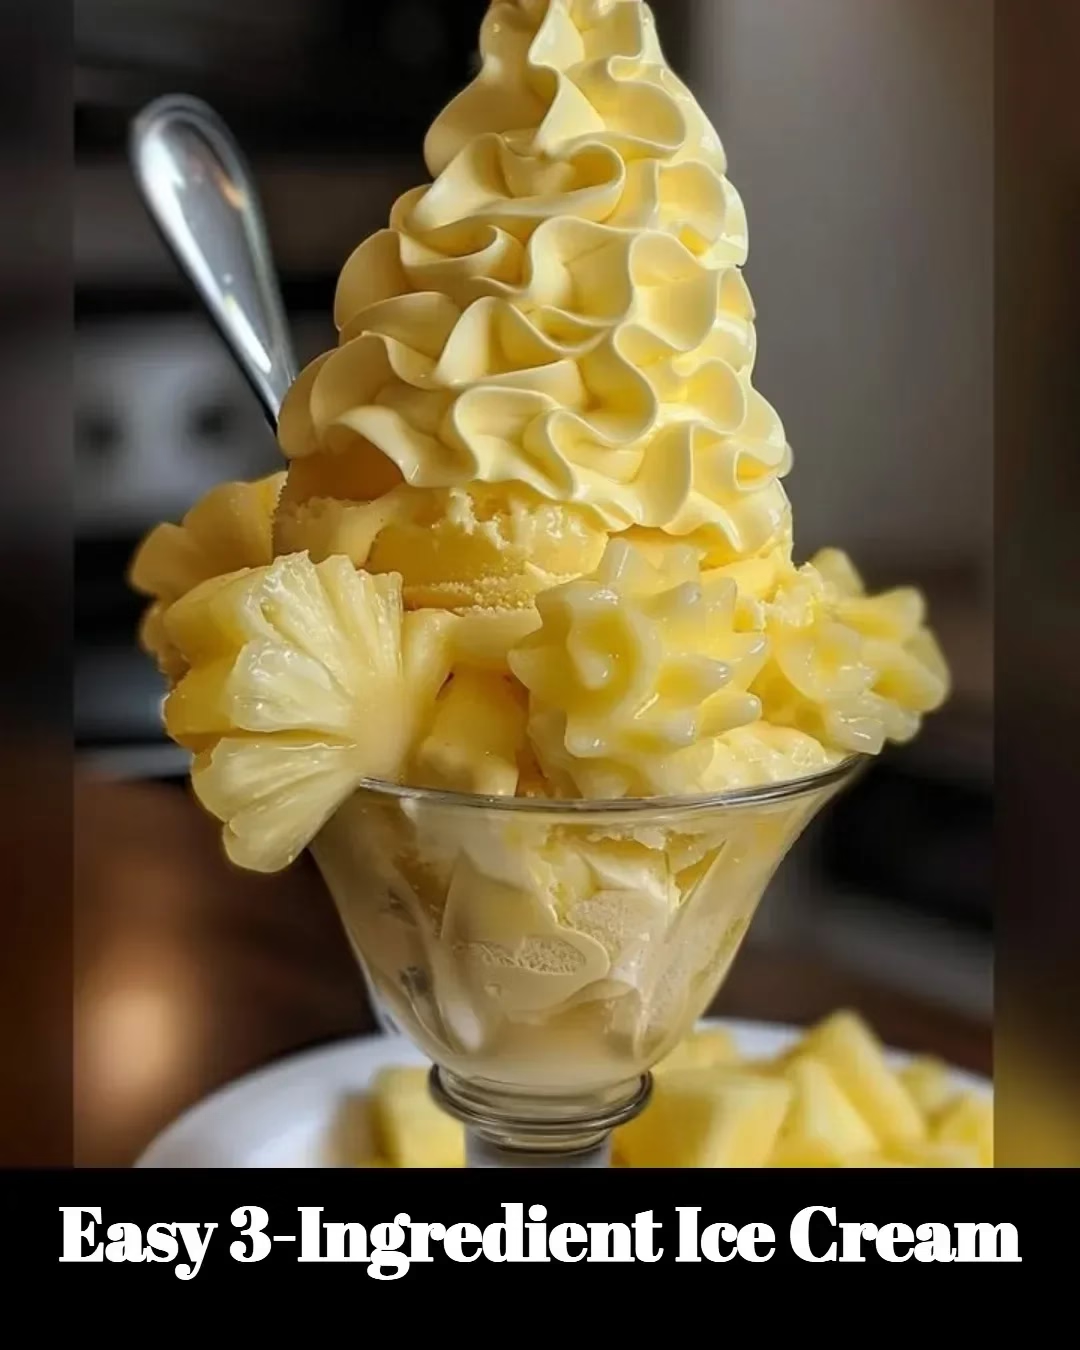
Easy 3-Ingredient Ice Cream: Homemade, No-Fuss Dessert for Busy Days
There are days when you want dessert without an extra to-do list. Enter Easy 3-Ingredient Ice Cream — the kind of recipe that feels like a little kitchen victory and a big scoop of joy. If you’re juggling work, family, or the delightful chaos that comes with life, this is your shortcut to creamy, homemade bliss without an ice cream maker or a lengthy ingredient list.
If you love quick desserts that still taste indulgent, you’ll want to tuck this one into your regular rotation. It’s perfect after a long week, for impromptu guests, or when your kids (or inner kid) demand something cold and dreamy. For more cold-treat inspiration, I sometimes jot little notes in my own recipe log — like the ones you’ll find in my Easy Ice Cream Log — when a batch turns out extra special.
Why You’ll Love This Easy 3-Ingredient Ice Cream
- Super simple: only three ingredients, minimal prep.
- No-churn: no ice cream machine required.
- Flexible: swap extracts, fold in mix-ins, or swirl in fruit or chocolate.
- Family-friendly: picky eaters? Make it plain vanilla and they’ll be back for seconds.
Ingredients
- 2 cups (480 ml) heavy whipping cream, chilled
- 1 (14 oz) can sweetened condensed milk
- 1 ½ teaspoons pure vanilla extract (or swap for 2 tbsp fruit puree for flavor)
These three components are the classic trio. Heavy cream gives body and that scoopable texture, sweetened condensed milk sweetens and stabilizes, and vanilla adds warmth and familiarity. If you want a chocolate version, stir in 1/3 cup unsweetened cocoa powder with the condensed milk. For berry lovers, swap vanilla for 2 tablespoons of strawberry or mango puree.
Step-by-Step: How to Make Easy 3-Ingredient Ice Cream
- Chill everything. Pop your mixing bowl and beaters in the fridge for 10–15 minutes ahead of time if you can — cold equipment helps cream whip faster.
- Whip the cream. Pour the heavy whipping cream into the chilled bowl. Using an electric mixer on medium-high, whip until soft to stiff peaks form depending on how airy you like it. Stiff peaks usually give the best scoopable result.
- Add the sweetened condensed milk. Pour the condensed milk into a separate bowl and stir in the vanilla (or your chosen flavor). Gently fold the condensed milk mixture into the whipped cream. Use a spatula and fold carefully so you keep as much air as possible. A few gentle folds are better than overworking it.
- Transfer and freeze. Spoon the mixture into a loaf pan or airtight container. Smooth the top and press a piece of parchment paper or plastic wrap directly onto the surface to prevent ice crystals. Freeze for at least 6 hours or overnight.
- Scoop and serve. For perfect scoops, let the ice cream sit at room temperature for 5–10 minutes before scooping. If it’s rock-hard, run your scoop under hot water and shake off excess.
No-Churn Variations (quick ideas)
- Chocolate swirl: Fold in 1/2 cup melted chocolate after a few folds.
- Berry swirl: Gently fold in 1/2 cup reduced berry jam.
- Nutty crunch: Fold in 1/2 cup toasted chopped nuts right before freezing.
- Coffee lover: Dissolve 1-2 tablespoons instant espresso in the condensed milk before folding.
Cooking Tips and Tricks (because life isn’t always straightforward)
- Don’t overwhip. If the cream gets grainy or starts to separate, it’s gone too far. Stop as soon as stiff peaks form.
- Keep it cold. Cold tools and ingredients mean faster whipping and better volume.
- Mix-ins: Add chunky mix-ins (cookies, nuts) at the end so they don’t sink.
- Quick soft-serve: Whip a little extra cream and fold it in right before serving for an extra fluffy texture.
- Serving hack: Run your scoop under hot water and dry it before scooping — scoops will glide like a dream.
A Little Personal Note from Anna
My sister Patricia and I developed this recipe on a day when our oven was occupied and the kids wanted something cool, fast, and a little fancy. We’d just had a grocery run and were staring at a can of sweetened condensed milk like it was a secret treasure. I whipped the cream while Patricia distracted the kids with a bowl of chopped fruit. The result? Pure happiness in a bowl. Since then, it’s been my go-to dessert when guests pop over unexpectedly — it feels like effort, but it isn’t. If you want some playful dessert ideas for the whole family (including your pup’s frozen treats), check out this fun guide to ice cream treats for your pup — because dogs deserve a summer scoop, too.
FAQ: Quick Answers About This 3-Ingredient Ice Cream
Q: Can I substitute the heavy cream with something lighter?
A: For a true creamy texture you’ll want heavy whipping cream. Lighter creams won’t whip up the same way. If you need a lighter option, try mixing Greek yogurt with condensed milk and freezing — it’s a different texture but still tasty.
Q: How long will leftovers keep?
A: Store in an airtight container in the freezer for up to 2 weeks. Pressing plastic wrap directly onto the surface helps avoid ice crystals.
Q: Is this recipe dairy-free or vegan-friendly?
A: Not as written. For a dairy-free take, use full-fat coconut cream (chilled) in place of heavy cream and a sweetened condensed coconut milk in place of the condensed milk. Texture and flavor will be a bit different but delightful in its own way.
Q: Can I use this recipe as an ice cream base for flavors like cookie dough or chocolate chip?
A: Absolutely. Fold in cookie dough pieces, chocolate chips, or swirls of caramel once the base is ready and freeze. Add chunky bits right before freezing so they stay intact.
Q: What does “no-churn ice cream” mean?
A: No-churn ice cream means you don’t need an ice cream maker. The whipped cream provides the air and softness that a machine usually would.
Feeding Picky Eaters and Entertaining Guests
This recipe is a dream for picky eaters because it starts neutral: sweet, creamy, and familiar. Make a plain vanilla batch and set out toppings — chocolate chips, crushed cookies, fresh fruit — and let everyone build their dream cone. When I host, I sometimes set up a little DIY ice cream bar. It feels festive and gets everyone involved without adding extra work to my prep list.
Why This Recipe Works (a quick bit of kitchen science)
You may wonder how just three ingredients create something so scoopable. The magic is in the whipped cream. Whipping traps air and builds volume. The sweetened condensed milk brings sweetness and sugar, which limits ice crystal growth while adding body. Vanilla (or other flavor choices) ties it together. Together they give the texture and stability of churned ice cream without the appliance.
Serving Suggestions
- Classic bowls with a berry compote and shortbread crumbs.
- Between two cookies for an indulgent ice cream sandwich.
- With a warm fruit compote for a contrast of temperatures.
- In popsicle molds for handheld frozen treats.
Troubleshooting
- Ice cream too hard? Let it sit 5–10 minutes at room temperature before scooping. If it’s consistently too hard, try reducing freeze time slightly or using a shallower container so freezing is more even.
- Grainy texture? That usually means the cream was overwhipped or partly turned into butter. Start over with fresh cream and be gentle next time.
A Few More Flavor Ideas to Try
- Salted caramel: Fold in ½ cup salted caramel sauce and a pinch of sea salt.
- Lemon curd ripple: Swirl ½ cup lemon curd through before freezing.
- Mint chip: Add ½ teaspoon peppermint extract and fold in ½ cup chopped dark chocolate.
Frequently Asked Questions (expanded with secondary keywords)
Q: Can I make this a dairy-free no-churn ice cream?
A: Yes. Use chilled coconut cream (the thick part from a can) instead of heavy cream and sweetened condensed coconut milk for a dairy-free, delicious alternative. The result is a no-churn ice cream that’s satisfying and tropical.
Q: Is 3-ingredient ice cream good for parties?
A: Definitely. It scales easily — double or triple the recipe so you have a couple of flavor options. It’s an easy dessert to keep in the freezer for surprise guests.
Q: Can I use fresh fruit in this homemade ice cream?
A: You can. Puree fresh fruit and mix in with the sweetened condensed milk before folding into whipped cream to create a fresh fruity base.
Why this recipe fits your life
I know how few hours there are in a day when you’re juggling everything — work, family, activities, and the small domestic rituals that keep life feeling cozy. This Easy 3-Ingredient Ice Cream is the kind of recipe that gives you a high-reward result with minimal fuss. It’s quick enough to make after dinner and impressive enough to bring to a potluck. It’s also forgiving, so if your timing is off or you substitute an ingredient, you’ll usually still get something tasty.
Conclusion
If you want a crowd-pleasing, no-fuss dessert that still feels homemade, this Easy 3-Ingredient Ice Cream is your new best friend. It’s simple, adaptable, and downright comforting. For more inspiration on three-ingredient approaches and no-churn methods, I like to peek at resources like Homemade Ice Cream : Three Ingredients Only | Andy’s East Coast and No Churn 3 Ingredient Ice Cream – At Home With Shay to compare ideas and flavor twists. Give it a try tonight — you’ll be surprised how often a tiny bit of simplicity becomes the thing guests remember.
Meta description:
Easy 3-Ingredient Ice Cream is the perfect quick dessert for busy families. No-churn, creamy, and delicious — simple steps for homemade frozen joy.
Easy 3-Ingredient Ice Cream
Ingredients
Method
- Chill your mixing bowl and beaters in the fridge for 10–15 minutes.
- Pour the heavy whipping cream into the chilled bowl and whip until soft to stiff peaks form.
- In a separate bowl, stir the sweetened condensed milk with the vanilla extract.
- Gently fold the condensed milk mixture into the whipped cream using a spatula.
- Transfer the mixture to a loaf pan or airtight container and smooth the top.
- Press a piece of parchment paper or plastic wrap directly onto the surface to prevent ice crystals.
- Freeze for at least 6 hours or overnight.
- Let the ice cream sit at room temperature for 5–10 minutes before scooping for easier serving.
- Run your scoop under hot water to glide through the ice cream smoothly.