Sweeten Your Day with Homemade Apple Jelly: A Delightful Recipe!
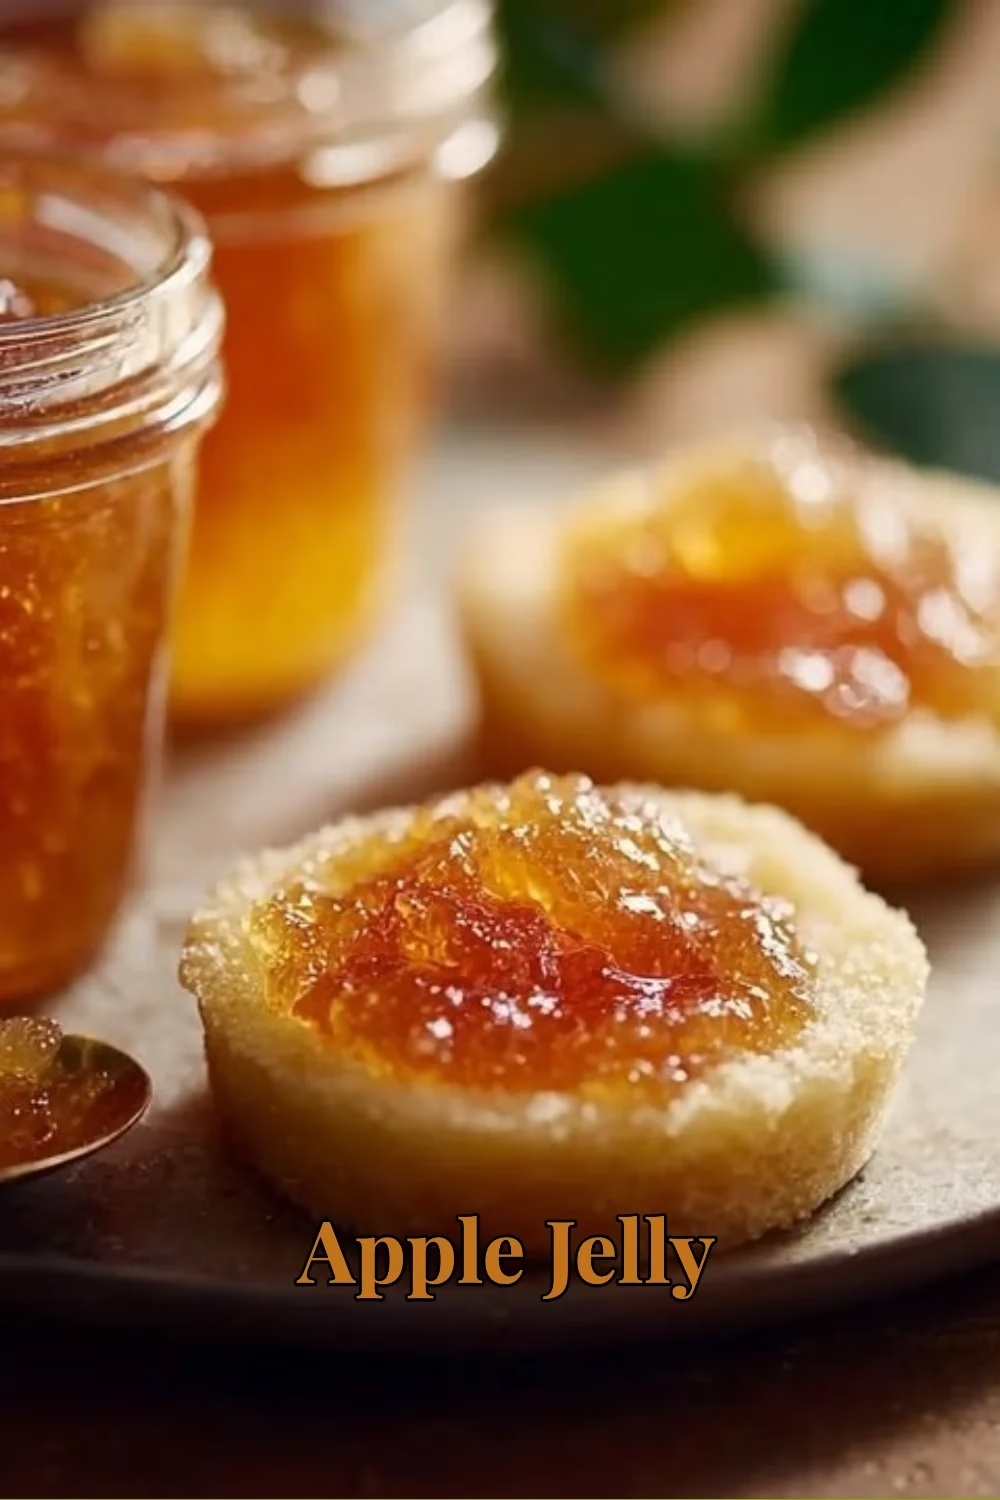
Nothing says “cozy autumn mornings” quite like a dollop of homemade apple jelly on your toast or pancakes. As the leaves change colors, inviting the crispness of fall into our lives, it’s the perfect time to whip up this heartfelt Apple Jelly recipe. It’s simple, delicious, and the kind of project that makes your kitchen smell absolutely heavenly—think cinnamon, but with a fruity twist!
So, gather your family or team up with a friend, and let’s steep ourselves in the joy of making your very own batch of apple jelly. It’s a culinary adventure that yields delightful results. Trust me, your breakfast spread will thank you!
Why You’ll Love This Apple Jelly
Let’s be real. Life is busy, and finding ways to create small moments of joy can sometimes slip through the cracks. This apple jelly is not just a quick pickup for your toast; it has the ability to transform even a hectic morning into something special. Plus, it’s a versatile treat you can use as a topping for desserts, or even as a secret ingredient that spices up a savory dish (think glaze for pork chops!).
If you’ve ever been tempted to try canning but didn’t know where to start, this recipe is the perfect introduction. It’s approachable, forgiving, and deliciously rewarding. Let’s jump into what you’ll need!
Ingredients
For this apple jelly, you’ll need:
- 4 cups of apple juice (store-bought works just fine!)
- 1 tablespoon of lemon juice
- 1 packet of pectin (often found in the canning aisle)
- 5 cups of granulated sugar
- 1/4 teaspoon of ground cinnamon (optional, but why would you skip it?)
- Jars for storing (make sure they’re clean and dry!)
Steps to Crafting the Perfect Apple Jelly
Prepare Your Jars: Start by sterilizing your jars. You can do this by running them through a dishwasher cycle or boiling them in water. Nobody needs uninvited guests (like bacteria) crashing their apple jelly party!
Mix the Juices: In a large pot, combine the apple juice and lemon juice. Bring it to a rolling boil over medium heat. This mix forms the base of your sweet delight.
Add the Pectin: Once boiling, stir in the pectin and let it bubble for one minute. (Pro tip: stir like your life depends on it so the pectin dissolves; we’re aiming for jelly, not chunky apple soup!)
Sweeten the Deal: Gradually mix in the sugar, stirring continuously until it’s fully dissolved. Bring this glorious concoction back to a rolling boil. Keep it bubbling away for about 1-2 minutes. The aroma will be enchanting; you might just find yourself sneak-tasting a bit already!
Check for Setting: To test if it’s ready, place a spoonful on a cold plate (stick one in the freezer for a few minutes). If it holds its shape, you’re golden. If not, let it boil a little longer.
Fill the Jars: Using a ladle, pour the hot jelly into your prepared jars, leaving about 1/4 inch of headspace at the top. Wipe the rims clean with a damp paper towel before sealing.
Seal and Process: Affix the lids and process the jars in boiling water for about 10 minutes to ensure they’re sealed tight. This step is key to making your jelly last, and if you’re anything like me, you want it to last for at least a few weeks before you start slathering it on everything!
Cool and Store: Let the jars cool completely at room temperature. If you’ve done everything right, you’ll hear the satisfying pop of the lids sealing as they cool. Store your apple jelly in a cool, dark place, and watch your loved ones be amazed when you share your homemade treasure.
Cooking Tips
- A Little Extra Flavor: If you want to jazz things up, infuse some spices! A cinnamon stick or even a dash of vanilla extract goes a long way.
- Leftover Juice? Use it to make delicious homemade apple cider or add to a smoothie! There’s no such thing as waste in my kitchen!
- Did It Set? If your jelly didn’t set properly, don’t fret. Just reheat it with the same amount of sugar and pectin, give it a good stir, and try again. It’s a second chance to sweet perfection!
Personal Touch
I’ll let you in on a little secret—this apple jelly recipe became a family staple when I attempted to impress my sister Patricia with my newfound canning skills. Let’s just say she wasn’t convinced at first—until I slathered it on her morning scone. The sparkle in her eye said it all! Now, we can’t have a family gathering without a spread of homemade jams. Every jar tells a story, and trust me; you’ll want your apple jelly to be a part of your family’s future tales!
FAQs
Can I substitute fruit juice?
Absolutely! While apple juice is traditional, pear or even mixed berry juices can create unique twists on this classic.
How long does apple jelly last?
When sealed properly, apple jelly can last up to a year in your pantry! Once opened, be sure to refrigerate and enjoy within a few weeks.
Can I double the recipe?
Yes! Just make sure to use a large enough pot and allow for longer processing times if you increase the batch size. You’ll thank yourself when you’re swimming in apple jelly!
Incorporating homemade apple jelly into your culinary repertoire isn’t just a project; it’s a celebration of seasons, flavors, and memories. So crank up the tunes, invite over some friends, or gather the kiddos, and dive into this delightful venture. You’re not just making apple jelly; you’re creating tasty traditions that last a lifetime.
Before you go, if you’re looking for other ways to transform those seasonal apples, check out my Crispy Apple Crisp recipe! It’s the perfect complement to a glorious jar of apple jelly, and trust me, your kitchen will smell incredible.
So go on, get canning, and let those apple creations begin! 🍏✨
Meta Description: Apple Jelly is the perfect recipe for cozy mornings. Quick, easy, and delicious, this delightful jelly will become your new favorite spread!
Homemade Apple Jelly
Ingredients
Method
- Start by sterilizing your jars. You can do this by running them through a dishwasher cycle or boiling them in water.
- In a large pot, combine the apple juice and lemon juice. Bring it to a rolling boil over medium heat.
- Once boiling, stir in the pectin and let it bubble for one minute.
- Gradually mix in the sugar, stirring continuously until it’s fully dissolved and bring it back to a rolling boil for about 1-2 minutes.
- To test if it’s ready, place a spoonful on a cold plate. If it holds its shape, it’s good to go; if not, let it boil a little longer.
- Using a ladle, pour the hot jelly into your prepared jars, leaving about 1/4 inch of headspace at the top.
- Wipe the rims clean with a damp paper towel before sealing.
- Affix the lids and process the jars in boiling water for about 10 minutes.
- Let the jars cool completely at room temperature and store in a cool, dark place.