Butterfinger Caramel Crunch Bars: A Sweet Treat to Satisfy Your Cravings
Ah, Butterfinger Caramel Crunch Bars! If you’re anything like me, you know that sometimes, life just calls for a little indulgence. Whether it’s a well-deserved treat after a long day or a surprise dessert for your next gathering, this recipe is sure to hit the sweet spot. Plus, they’re quick and easy to whip up, making them perfect for busy days when you need something delicious without the fuss.
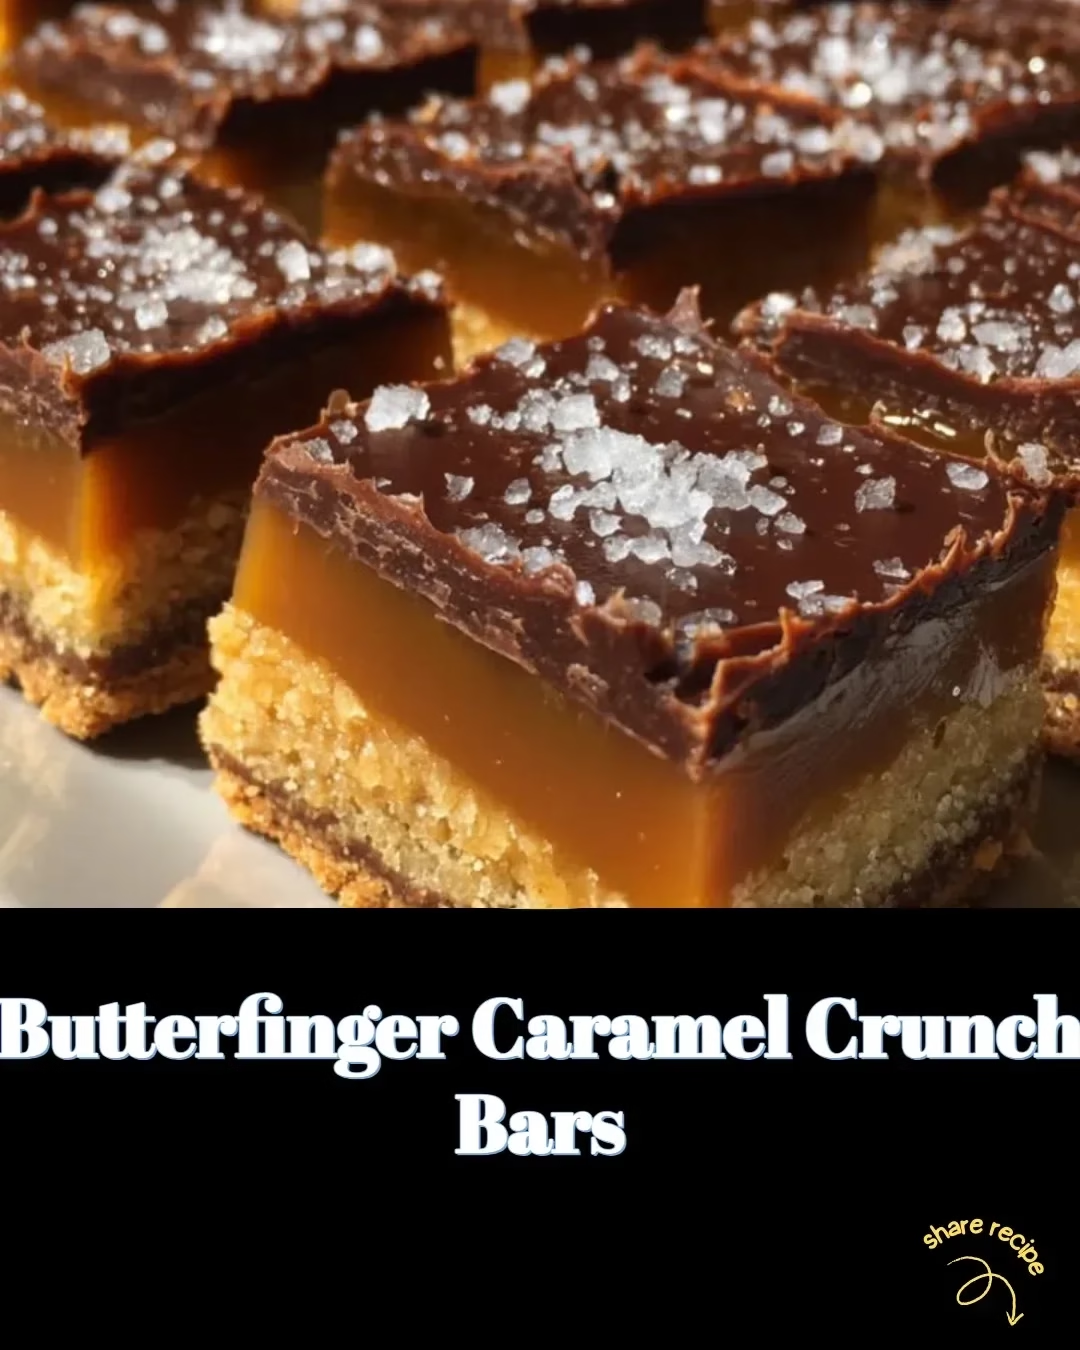
Join me as we dive into the delightful world of these buttery, crunchy bars that are brimming with caramel goodness and, of course, that unmistakable Butterfinger crunch. Trust me; once you experience the magic of this recipe, you’ll be coming back to it time and time again!
Why You’ll Love These Butterfinger Caramel Crunch Bars
Let’s face it: we all have those moments when we crave a little something sweet. These Butterfinger Caramel Crunch Bars not only satisfy your sweet tooth but also offer a delightful textural experience with every bite. The combination of chocolate, peanut butter, and buttery crunch creates a symphony of flavors that will have your taste buds dancing with joy.
Moreover, they are super versatile! Perfect for parties, as a delicious snack for the kids after school, or even as a sweet surprise for your loved ones, they’re sure to impress without demanding hours in the kitchen.
Ingredients You’ll Need
Let’s gather our sweet components! Here’s what you’ll need for these indulgent bars:
- 1 cup of crushed Butterfinger candies (Who could resist this?)
- 1 cup of crushed graham crackers
- 1 cup of chocolate chips (Milk or semi-sweet, your call!)
- 1/2 cup of peanut butter
- 1/2 cup of unsalted butter (Melted, of course)
- 1 cup of caramel sauce (Store-bought or homemade—both work wonders!)
Steps to Create Your Butterfinger Caramel Crunch Bars
Prep Your Baking Dish: Start by greasing a 9×9 inch baking dish or lining it with parchment paper for easy removal. You’ll thank yourself later!
Combine Crushed Ingredients: In a large mixing bowl, combine the crushed graham crackers and Butterfinger candies. Feel free to sneak a taste—so good, right?
Mix in the Goodness: Stir in the melted butter and peanut butter until everything is evenly coated. It should be like a tasty sand mixture that sticks together (and yes, you can lick your spoon).
Layer the Mixture: Press this delicious mixture into the bottom of your prepared baking dish. Use your hands for a more even layer—don’t hold back!
Melt the Chocolate: In a microwave-safe bowl, melt the chocolate chips in 30-second intervals, stirring in between until smooth. Drizzle this over the base layer you’ve just pressed down.
Add the Caramel: Drip that caramel sauce all over the melted chocolate layer. Don’t worry; drizzle generously—it’s the best part!
Finish with More Crunch: Lastly, sprinkle any remaining crushed Butterfingers on top for an extra crunch and beautiful presentation.
Chill: Refrigerate the bars for at least an hour, allowing them to set properly. (This is the hardest part, we know!)
Slice and Serve: Once they are set, lift them out of the dish using the parchment paper and cut into squares. Get ready for the compliments to roll in!
Tips for Perfecting Your Bars
- Chocolate Trouble? If your chocolate doesn’t melt smoothly, just add a teaspoon of vegetable oil to help it along.
- Caramel Catastrophe? If the caramel is a bit too thick, warm it gently in the microwave to make it easier to drizzle.
- Storage Savvy: Keep leftovers in an airtight container in the fridge (though I’m willing to bet there won’t be many leftovers!).
Personal Note
You know, this recipe came about during one of those classic winter weekends, when I was snowed in and craving something sweet. With my kids bouncing off the walls, I needed a quick solution—and voilà! These bars not only satisfied my chocolate cravings but also turned into a fun activity with the kiddos. They loved crushing the Butterfingers, and trust me, the kitchen never smelled better!
FAQs
- Can I substitute graham crackers? Absolutely! You can use crushed cookies, such as Oreos or even gluten-free crackers, for a different flavor twist.
- Can I make them ahead of time? Definitely! These bars can be made a couple of days in advance and stored in the fridge. That means less stress for you!
- How can I store leftovers? Just pop them in an airtight container in the fridge for up to a week. They might not last that long, though!
So, there you have it—your go-to recipe for Butterfinger Caramel Crunch Bars. Whether you’re treating yourself or impressing guests, these bars deliver on sweetness, crunch, and a little bit of nostalgia. Grab your apron, embrace the chaos of kitchen fun, and let’s create some incredible memories together!
For more delightful treats, don’t forget to check out my Chocolate Peanut Butter Fudge recipe that’s just as easy and satisfying. Happy baking!
Meta Description
"Butterfinger Caramel Crunch Bars are the perfect recipe to satisfy your sweet tooth. Quick, easy, and delicious, this treat will delight everyone!"
Butterfinger Caramel Crunch Bars
Ingredients
Method
- Grease a 9×9 inch baking dish or line it with parchment paper.
- In a large mixing bowl, combine the crushed graham crackers and crushed Butterfinger candies.
- Stir in the melted butter and peanut butter until evenly coated.
- Press this mixture into the bottom of your prepared baking dish.
- In a microwave-safe bowl, melt the chocolate chips in 30-second intervals, stirring in between, until smooth.
- Drizzle the melted chocolate over the pressed base in the baking dish.
- Drizzle the caramel sauce generously on top of the melted chocolate.
- Sprinkle any remaining crushed Butterfingers on top for added crunch.
- Refrigerate the bars for at least an hour to allow them to set.
- Once set, lift them out using the parchment paper and cut into squares.