Butterfinger Cheesecake: The Ultimate Sweet Treat for Your Busy Life!
Are you ready to indulge in something truly heavenly? If you’re as much of a peanut butter lover as I am, you’re in for a treat with this Butterfinger Cheesecake! This creamy, dreamy dessert is not only a crowd-pleaser but also incredibly easy to whip up. Perfect for a quick weeknight delight or a show-stopping dessert for your next gathering—trust me, your friends will be begging for seconds!
Why You’ll Love This Butterfinger Cheesecake
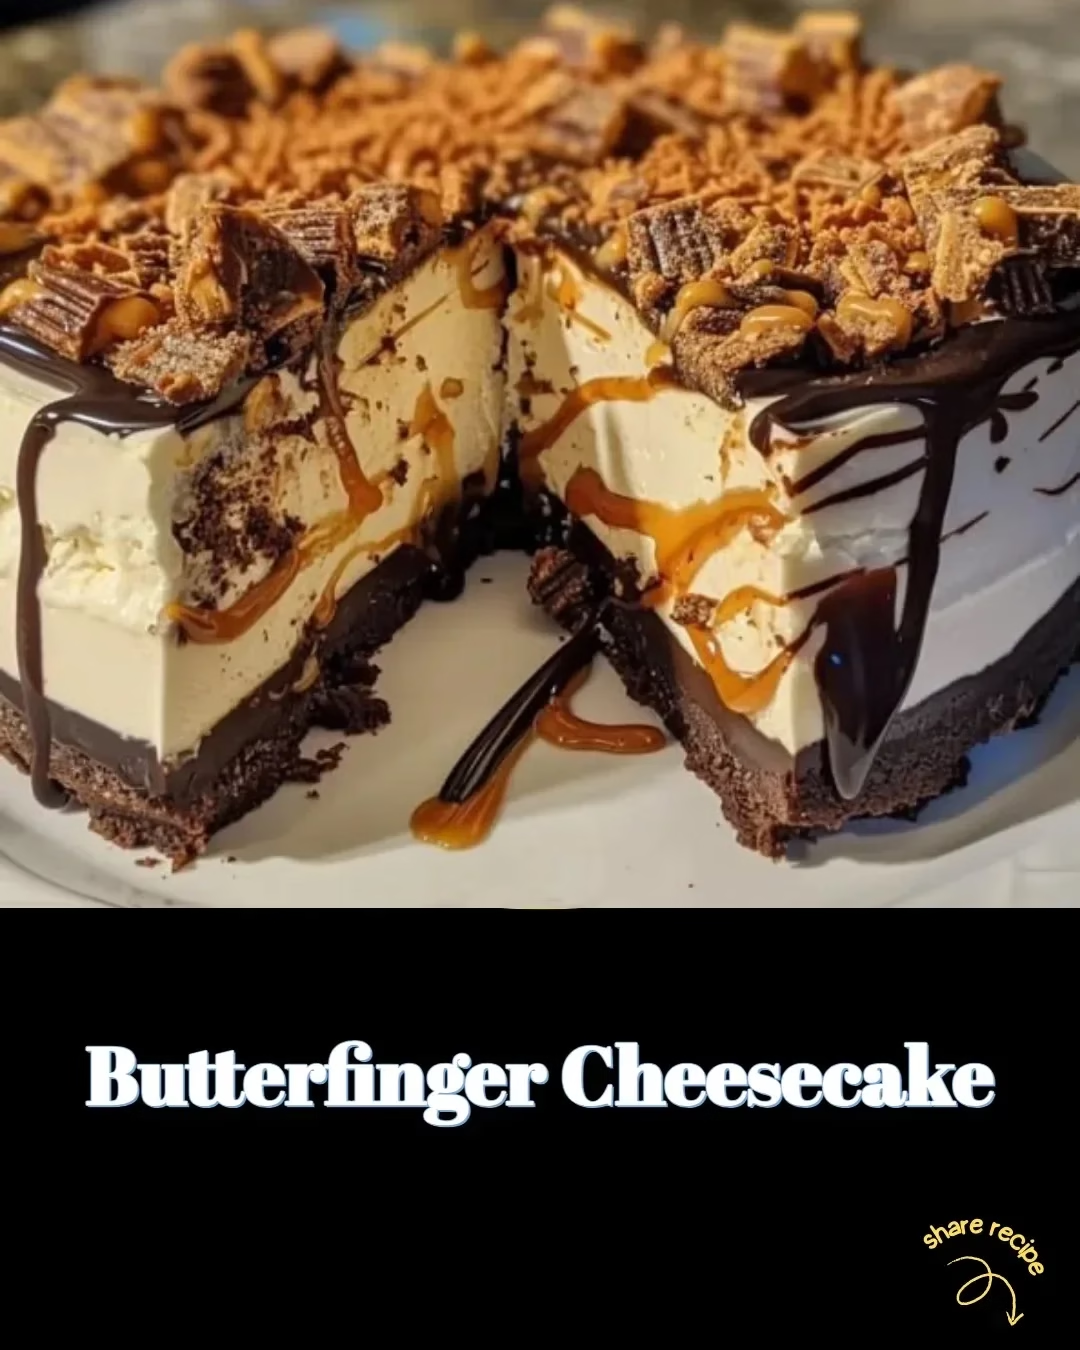
Picture this: a rich, velvety cheesecake infused with the classic flavors of Butterfinger candy bars, all resting on a buttery graham cracker crust. Yes, please! It’s the ideal dessert for busy women who want to impress without spending hours in the kitchen. Plus, who can resist that crunchy, chocolatey topping? It’s seriously the best of both worlds—comfort food and dessert extraordinaire!
Ingredients You’ll Need
This Butterfinger Cheesecake couldn’t be simpler. Here’s what you’ll need to get started:
For the crust:
- 1 ½ cups graham cracker crumbs
- ½ cup unsalted butter, melted
- ¼ cup granulated sugar
For the cheesecake filling:
- 24 oz cream cheese, softened
- 1 cup granulated sugar
- 1 teaspoon vanilla extract
- 3 large eggs
- 1 cup whipped cream (you can use store-bought or homemade)
For the topping:
- 6 Butterfinger bars, crushed (because a little crunch never hurt anyone!)
- Extra whipped cream for garnish (if you’re feeling fancy)
Steps to Deliciousness
Now that you’ve gathered your ingredients, it’s time to dive into the preparation. Remember—good cheesecake requires some love, but it doesn’t have to be complicated!
1. Preheat and Prepare
Preheat your oven to 325°F (160°C). Grab a 9-inch springform pan and lightly grease it for easy removal later (you’ll thank me during the unveiling!).
2. Make the Crust
In a medium bowl, combine the graham cracker crumbs, melted butter, and sugar. Press the mixture firmly into the bottom of your springform pan. This will be the magical base of your cheesecake! Pop it in the oven for about 10 minutes until it’s golden brown and set. Take it out and let it cool.
3. Blend the Filling
In a large mixing bowl, beat the softened cream cheese and sugar until smooth. Add the vanilla extract and mix well. Now, add the eggs one at a time, mixing just until incorporated. Here’s a tip: Over-mixing can lead to cracks in your cheesecake, so go easy on it!
4. Whip it Good
Fold in the whipped cream gently to keep that airy texture alive. This is the moment when the cheesecake becomes fluffy and dreamy—don’t skip it!
5. Bake
Pour the cheesecake mixture over your cooled crust. Bake for about 50-60 minutes, or until the edges are set but the center still has a slight jiggle. Turn off the oven and crack the door open a bit, allowing it to cool gradually. This will help prevent cracks!
6. Chill Out
Once cooled, refrigerate the cheesecake for at least 4 hours (or overnight if you can wait that long!). Good things come to those who don’t rush!
7. Top it Off
Before serving, sprinkle the crushed Butterfinger bars on top. Add extra whipped cream dollops if you’re in the mood to be extra!
Cooking Tips
No Butterfingers? No problem! You can swap them out for your favorite candy bars—Snickers or Reese’s work wonderfully too!
For easier slicing: Dip your knife in warm water before cutting; it’ll glide through like a hot knife through butter!
If you find yourself in a sweet tooth predicament, or if your kids insist on dessert after dinner (as mine do), this cheesecake is the perfect fix! I whipped it up last week for a small family gathering, and let’s just say it disappeared faster than cookies at a school bake sale.
FAQs
Can I substitute cream cheese in this recipe?
Sure! You can use Greek yogurt for a lighter version, but keep in mind it will alter the flavor and texture a bit!
How can I store leftovers?
Store leftovers in an airtight container in the fridge for up to a week—if it lasts that long!
So there you have it! This Butterfinger Cheesecake not only satisfies your sweet cravings but also brings a hint of nostalgia with every bite. Whether you’re a busy mom juggling work and family, or simply looking for a quick dessert option, this recipe has got you covered.
Grab your apron, and let’s create some memories in the kitchen together! If you enjoyed this recipe, be sure to check out our Classic Chocolate Chip Cookies for more sweet inspiration!
Meta Description: Butterfinger Cheesecake is the perfect recipe for a delightful dessert. Quick, easy, and delicious—this treat will become your go-to meal. Try it today!
Butterfinger Cheesecake
Ingredients
Method
- Preheat your oven to 325°F (160°C). Lightly grease a 9-inch springform pan.
- In a medium bowl, combine graham cracker crumbs, melted butter, and sugar. Press the mixture into the bottom of the springform pan. Bake for 10 minutes until golden brown, then let it cool.
- In a large mixing bowl, beat the softened cream cheese and sugar until smooth. Mix in vanilla extract. Add eggs one at a time, mixing gently to avoid cracks.
- Fold in whipped cream gently to maintain texture.
- Pour the cheesecake mixture over the cooled crust. Bake for 50-60 minutes, or until the edges are set with a slight jiggle in the center. Turn off oven and crack the door open to cool gradually.
- Refrigerate the cheesecake for at least 4 hours, or overnight if possible.
- Before serving, sprinkle crushed Butterfinger bars on top and add extra whipped cream if desired.