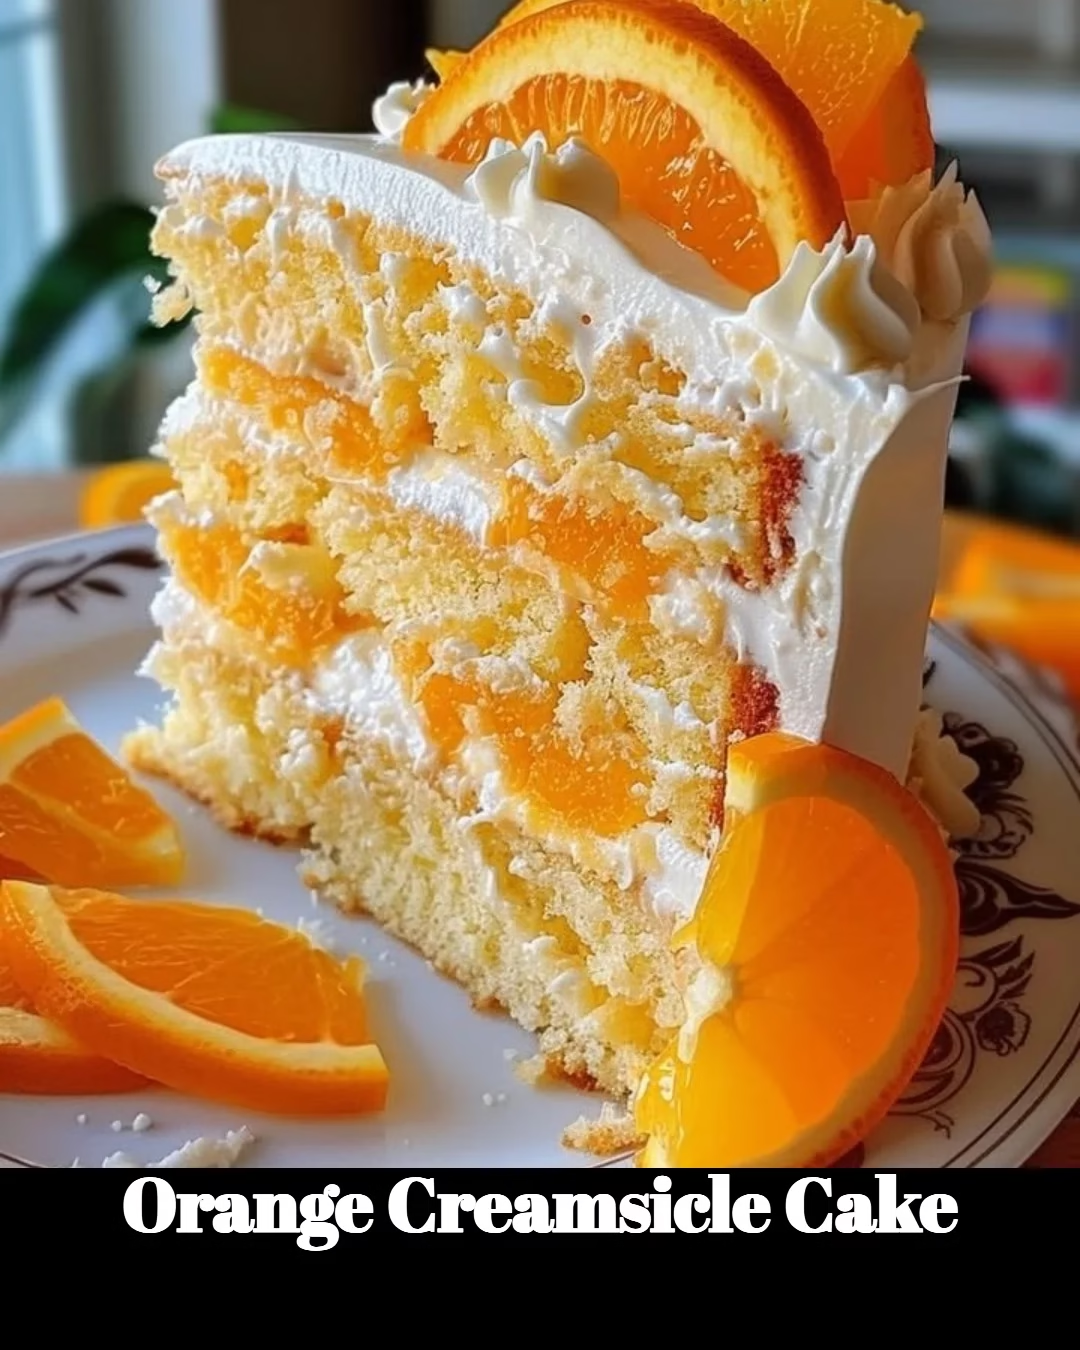
Orange Creamsicle Cake: A Sweet Slice of Nostalgia
There’s something so joyful about the flavor of orange creamsicles—it takes me right back to summer afternoons spent lounging by the pool or chasing the ice cream truck down the block. But what if you could bring that nostalgia into your kitchen and serve it up as a delicious cake? Well, buckle up, friends, because this Orange Creamsicle Cake is about to become your go-to recipe for everything from casual gatherings to those “I need to impress” moments!
This delightful dessert is not only bursting with citrus goodness but is also a simple and fun way to bring a little sunshine into your life. Whether you’re a busy mom juggling chores, a professional looking for a sweet pick-me-up, or just someone in need of a tasty treat, this cake is here to brighten your day—minus the sticky fingers from the ice cream truck!
Why You’ll Love This Orange Creamsicle Cake
Let’s be real: life can get hectic, and sometimes we just need a little comfort food. This cake is the perfect blend of simplicity and nostalgia, making it ideal for those busy weeknights or spontaneous get-togethers. Plus, who can resist the charm of a cake that resembles a childhood treat? But hold your horses—this isn’t just a cake, it’s a mood booster!
Ingredients
Here’s what you’ll need to whip up this dazzling Orange Creamsicle Cake:
For the Cake:
- 2 cups all-purpose flour
- 1 ½ cups granulated sugar
- ½ cup unsalted butter, softened
- 1 cup whole milk
- 3 ½ tsp baking powder
- 1 tsp vanilla extract
- ½ tsp salt
- 1 cup fresh orange juice
- Zest of 1 orange
- 4 large eggs
For the Frosting:
- 1 cup unsalted butter, softened
- 4 cups powdered sugar
- ½ cup heavy cream
- 2 tsp vanilla extract
- Zest of 1 orange
- A few drops of orange extract (optional for extra flavor)
Steps to Create Your Orange Creamsicle Cake
Preheat Your Oven: First things first, preheat your oven to 350°F (175°C). Let’s get that warmth and aroma filling your kitchen!
Mix It Up: In a large mixing bowl, cream together the butter and granulated sugar until light and fluffy—about 5 minutes. You want it to be fluffy enough to make a cloud jealous!
Add the Wet Ingredients: Beat in the eggs one at a time, then add the whole milk, vanilla extract, orange zest, and orange juice. Mix until combined—it will look like pure sunshine in a bowl!
Combine Dry Ingredients: In another bowl, whisk together your flour, baking powder, and salt. Gradually add this to your wet mixture, stirring just until incorporated. You don’t want to overmix—we’re not trying to create a workout here.
Bake: Divide the batter evenly between two greased 9-inch round cake pans. Pop them in the oven and bake for 25-30 minutes, or until a toothpick inserted in the center comes out clean. Oh boy, is that aroma something special!
Cool It Down: Once baked, allow the cakes to cool in the pans for about 10 minutes, then transfer them to a wire rack to cool completely. Patience, my friend; the best things come to those who wait!
Frosting Magic: While your cakes are cooling, let’s whip up that dreamy frosting. In a large bowl, beat the softened butter until creamy. Gradually add in the powdered sugar, heavy cream, vanilla extract, and orange zest, mixing until smooth and fluffy. Taste it. Go on, I won’t judge.
Assemble Your Cake: Once the cakes are completely cool, layer them with frosting in between, and then frost the top and sides. For an extra touch of magic, garnish it with some candied orange slices or colorful sprinkles.
Slice and Serve: Grab a piece for yourself (you’ve earned it) and serve this sweet delight! It’s perfect for birthdays, summer picnics, or simply because it’s Tuesday and you deserve a treat.
Cooking Tips
- Zest Over Juice: When zesting your orange, make sure to keep it to the outermost layer of the peel; that’s where all the flavor lives!
- Heavy Cream Hype: Using heavy cream in your frosting gives it that deliciously creamy texture that’s hard to beat. No one likes a dry frosting, right?
- Note on Leftovers: If you somehow have any leftovers (highly unlikely), store them in an airtight container in the fridge for up to three days.
Personal Anecdotes
You know, this recipe brings back memories of my sister, Patricia, and I baking in our childhood kitchen. We used to pull out the old stand mixer so we could get that perfect fluff and always ended up with at least half the batter on our faces. I can’t help but smile thinking about those days—happily messy and full of laughter. Now, we cherish those same moments while whipping up this Orange Creamsicle Cake, reminding us that a little fun can be found in cooking at any age.
FAQs
Can I substitute the orange juice in this recipe?
Absolutely! You can use store-bought orange juice in a pinch, but fresh juice really takes this cake to the next level.
How can I store leftovers?
Place any leftovers in an airtight container in your fridge. It’ll stay fresh for about three days, but trust me, it won’t last that long!
Can I freeze this cake?
Yes, you can! Just make sure it’s completely cooled, frost it lightly, and wrap it well in plastic wrap before placing it in the freezer. Perfect for unexpected get-togethers!
So there you have it—your new favorite Orange Creamsicle Cake recipe! It’s not just a dessert; it’s an experience filled with nostalgia, flavor, and joy. Bring out your inner child, celebrate life’s little moments, and share this delightful cake with friends and family! Happy baking!
Meta Description
"Orange Creamsicle Cake is the perfect recipe for nostalgic dessert lovers. Quick, easy, and delicious, this treat will become your go-to meal. Try it today!"
Now, go forth and create the magic of Orange Creamsicle Cake in your own kitchen! And if you’re looking for more delightful recipes, don’t forget to check out my favorite Classic Chocolate Chip Cookies and Lemon Blueberry Muffins that will keep your baking game strong!
Orange Creamsicle Cake
Ingredients
Method
- Preheat your oven to 350°F (175°C).
- In a large mixing bowl, cream together the butter and granulated sugar until light and fluffy, about 5 minutes.
- Beat in the eggs one at a time, then add the whole milk, vanilla extract, orange zest, and orange juice. Mix until combined.
- In another bowl, whisk together flour, baking powder, and salt. Gradually add this to your wet mixture, stirring just until incorporated.
- Divide the batter evenly between two greased 9-inch round cake pans and bake for 25-30 minutes, or until a toothpick inserted in the center comes out clean.
- Allow the cakes to cool in the pans for about 10 minutes, then transfer to a wire rack to cool completely.
- In a large bowl, beat the softened butter until creamy. Gradually add in the powdered sugar, heavy cream, vanilla extract, and orange zest, mixing until smooth and fluffy.
- Layer the cooled cakes with frosting in between, and then frost the top and sides. Garnish with candied orange slices or colorful sprinkles if desired.
- Serve and enjoy your Orange Creamsicle Cake!