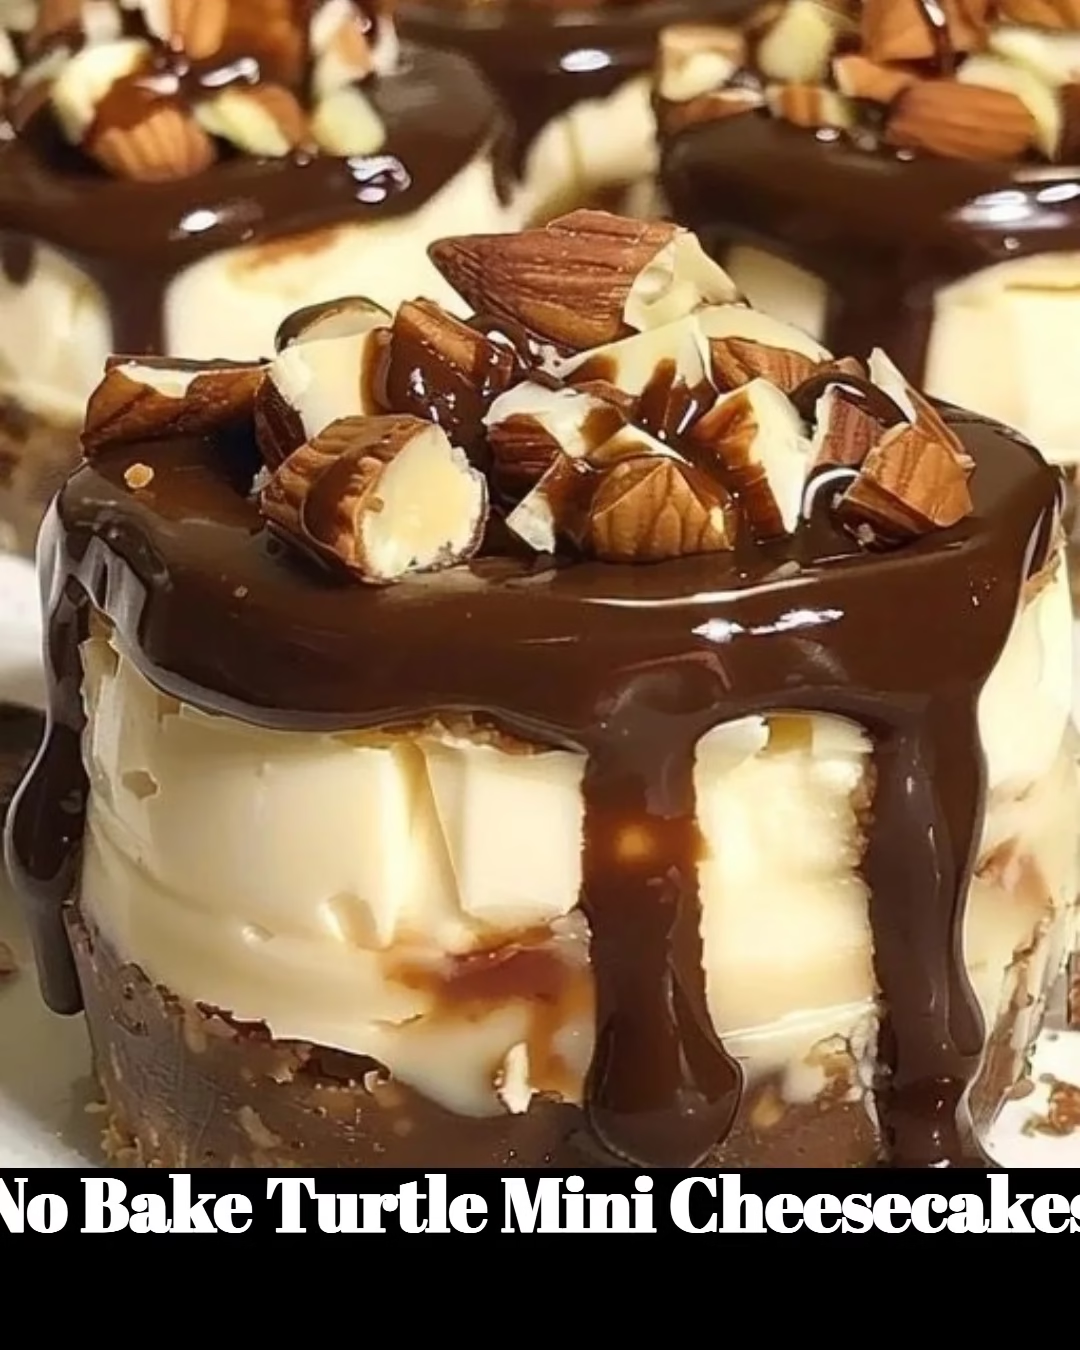
Delight Your Sweet Tooth with No Bake Turtle Mini Cheesecakes
If you’re anything like me, you’ve probably found yourself overwhelmed after a long day, yet still yearning for something sweet to treat yourself. Enter No Bake Turtle Mini Cheesecakes—the perfect remedy to satisfy your cravings without requiring hours in the kitchen. Not only are they indulgently delicious, but they’re also ridiculously easy to whip up. Trust me, these delightful mini cheesecakes will become your new favorite way to impress family and friends while keeping your sanity intact!
Why You’ll Love These No Bake Turtle Mini Cheesecakes
Imagine this: you come home from a busy day at work, the kids are getting hangry, and the last thing you want to do is wrestle with a complicated dessert recipe. These turtle mini cheesecakes deliver a creamy, dreamy flavor with a rich fudge sauce and crunchy nuts, and guess what? They don’t even require a stove! Perfect for those chaotic moments we all experience, and your sweet tooth will be more than grateful.
Ingredients
Let’s gather our ingredients without any hassle. Here’s what you’ll need for these delightful mini treats:
For the crust:
- 1 cup graham cracker crumbs
- 1/4 cup unsweetened cocoa powder
- 1/4 cup packed brown sugar
- 1/2 cup unsalted butter, melted
For the cheesecake filling:
- 1 cup cream cheese, softened
- 1 cup powdered sugar
- 1 teaspoon vanilla extract
- 1 cup heavy whipping cream
For the toppings:
- 1 cup caramel sauce
- 1/2 cup chopped pecans or walnuts
- Extra chocolate sauce (optional, because why not?)
Steps to Sweet Perfection
Now, let’s get to the fun part—making these No Bake Turtle Mini Cheesecakes!
Prepare the crust: In a medium bowl, mix together the graham cracker crumbs, cocoa powder, brown sugar, and melted butter until well combined. The mixture should hold together when pressed. Go ahead and channel your inner little chef—use your fingers for this part!
Form the crusts: Take about 2 tablespoons of the crust mixture and press it firmly into the bottom of your mini cheesecake cups. You can use a measuring cup for an even layer. Pop these in the fridge while you work on the filling (a little chill and set never hurt anyone!).
Make the filling: In a large bowl, beat the softened cream cheese using an electric mixer until smooth and creamy. Next, gradually add the powdered sugar and continue mixing until combined. Add in the vanilla extract and mix until incorporated.
Whip it real good: In a separate bowl, whip the heavy cream until stiff peaks form. Gently fold this whipped cream into the cream cheese mixture. This step is crucial for that fluffy, dreamy texture—like a cloud you can eat!
Fill the cups: Spoon the cheesecake filling into the chilled crusts, smoothing the tops with a spatula. As tempting as it is to dive right in, let them chill for at least two hours (three is even better) so they can set properly.
Top ‘em off: Drizzle on the caramel sauce, sprinkle with chopped nuts, and if you’re feeling extra fancy, go for a splash of chocolate sauce. Your mini cheesecakes now look (and taste) like they came straight from a gourmet bakery!
Cooking Tips for the Best Cheescakes Ever
- Make ahead: These cheesecakes can be made a day in advance! Simply keep them covered in the fridge, and you’ll have a fabulous dessert ready to go.
- Variations: Feel free to swap the nuts for your favorites or add extra toppings like whipped cream. How about some sea salt on top for a salted caramel twist? Life is too short for boring desserts!
- No mini cups?: Don’t have mini cheesecake cups? No worries! You can use a muffin tin lined with paper liners or a regular pie dish for a big cheesecake version.
FAQs
Can I substitute cream cheese in this recipe?
You sure can! If you’re looking for a lighter option, Greek yogurt can work, though it may change the flavor and texture slightly.
How can I store leftovers?
If you have any leftovers (which is unlikely, but hey, just in case!), store them in an airtight container in the fridge. They should last up to three days, but I wouldn’t wait that long to find out!
Can I freeze these mini cheesecakes?
Absolutely! Freeze them for up to a month. Just make sure to wrap them well! When you’re ready to indulge again, let them thaw in the fridge overnight.
So there you have it—No Bake Turtle Mini Cheesecakes that are not only easy to make but also guarantee you’ll be the cool mom (or dad!) on the block. With rich flavors that delight the senses and straightforward steps to get there, what’s not to love? Grab your apron and get ready to wow your family, friends, or even yourself with this sweet treat. Happy baking, or should I say, no-baking!
Looking for more easy and delightful recipes? Try out my other dessert recipes or check out more quick and easy meals to keep your kitchen adventures going strong!
Meta Description: No Bake Turtle Mini Cheesecakes are the perfect quick solution for satisfying your sweet cravings. Easy to make, delightfully delicious!
No Bake Turtle Mini Cheesecakes
Ingredients
Method
- In a medium bowl, mix together the graham cracker crumbs, cocoa powder, brown sugar, and melted butter until well combined. The mixture should hold together when pressed.
- Take about 2 tablespoons of the crust mixture and press it firmly into the bottom of your mini cheesecake cups. Pop these in the fridge while you work on the filling.
- In a large bowl, beat the softened cream cheese using an electric mixer until smooth and creamy.
- Gradually add the powdered sugar and continue mixing until combined. Add in the vanilla extract and mix until incorporated.
- In a separate bowl, whip the heavy cream until stiff peaks form. Gently fold this whipped cream into the cream cheese mixture for a fluffy texture.
- Spoon the cheesecake filling into the chilled crusts, smoothing the tops with a spatula. Let them chill for at least two hours to set properly.
- Drizzle on the caramel sauce, sprinkle with chopped nuts, and add chocolate sauce if desired.